|
|
5 years ago | |
|---|---|---|
| debian | 5 years ago | |
| doc/images | 5 years ago | |
| env | 5 years ago | |
| public | 5 years ago | |
| src | 5 years ago | |
| t | 5 years ago | |
| templates | 7 years ago | |
| test | 5 years ago | |
| .babelrc | 5 years ago | |
| .editorconfig | 5 years ago | |
| .eslintignore | 5 years ago | |
| .eslintrc.js | 5 years ago | |
| .gitignore | 5 years ago | |
| .gitreview | 8 years ago | |
| .mailmap | 6 years ago | |
| .postcssrc.js | 5 years ago | |
| .stylintrc | 8 years ago | |
| CONTRIBUTING.md | 6 years ago | |
| README.md | 5 years ago | |
| TESTDATA.md | 7 years ago | |
| babel.config.js | 5 years ago | |
| dev-config.sh | 6 years ago | |
| dev.sh | 8 years ago | |
| jest.config.js | 5 years ago | |
| jsconfig.json | 5 years ago | |
| package.json | 5 years ago | |
| quasar.conf.js | 5 years ago | |
| quasar.extensions.json | 5 years ago | |
| quasar.testing.json | 5 years ago | |
| tox.ini | 6 years ago | |
| yarn.lock | 5 years ago | |
README.md
Customer Self-Care Web UI
Development Quick Start for internal developers
-
Check if internal development server is running
-
Install yarn on your system
-
Run development environment
yarn run dev:docker dev-web-trunk.mgm.sipwise.com
Technology
Vue.js and Quasar
After a test phase with Sencha Ext JS we decided to use Vue.js in combination with the Quasar Framework.
Developers basics
We highly recommend the following courses to understand the principles and ultimately the code:
In addition, we also recommend the following Quasar Framework tutorials:
Project Guide
Add a new page
In order to add a new page you need to go along the following steps:
-
Create a new page component using the following naming pattern
src/pages/CscPageNewFeature.vue -
Create a route and add it to the route file
src/router/routes.js
{
    path: '/user/new-feature',
    component: CscPageNewFeature,
    meta: {
        title: i18n.t('pages.newFeature.title'),
        subtitle: i18n.t('navigation.newFeature.subTitle')
    }
}
-
Add new feature to the main menu
src/components/CscMainMenuTop.vue
{
    to: '/user/new-feature',
    icon: 'fancy_icon',
    label: this.$t('navigation.newFeature.title'),
    sublabel: this.$t('navigation.newFeature.subTitle'),
    visible: true
}
Dialogs
The basic dialog component is src/components/CscDialog.vue.
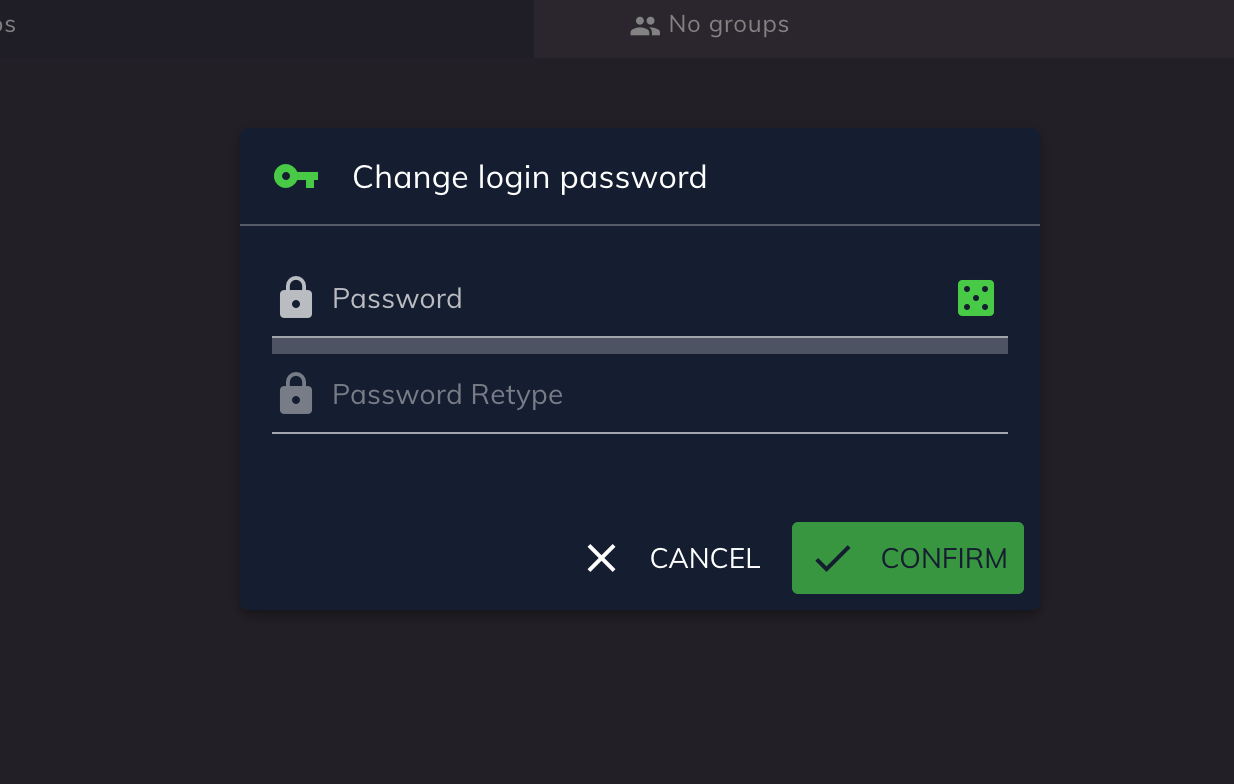
How to create a new custom dialog
Check the example implementation in src/components/CscDialogChangePassword.vue.
How to call custom dialogs from within a Vue.js Component method
To reduce the boilerplate code of dialog components, we call Dialogs via Quasar Dialog Plugin.
this.$q.dialog({
    component: CscDialogChangePassword,
    parent: this
}).onOk((password) => {
    this.changeWebPassword(password)
})
NGCP API
All API functions are located in src/api. The file src/api/common.js
exports basic convenient functions to perform API requests.
Check API Documentation for further details.
Authentication
The standard authentication method to access the API from the browser is the JSON Web Token (JWT) which is specified in RFC7519
After the login request, the JWT is stored in the LocalStorage and is added automatically on each API request.
Fetch a list of items
const list = await getList({
    resource: 'subscribers'
})
list.items.forEach(subscriber => {
    console.log(subscriber.webusername)
})
Fetch a paginated list of items
const list = await getList({
    resource: 'subscribers',
    page: 1,
    rows: 25
})
console.log(list.lastPage)
Fetch a single item
const subscriber = await get({
    resource: 'subscribers',
    resourceId: 21
})
console.log(subscriber.webusername)
Create a new item
If you use post, you create the
item and get back the sanitised data.
The method postMinimal does exactly
the same, except that the body is empty.
const subscriber = await post({
    resource: 'subscribers',
    body: {
        webusername: 'alice',
        ...
    }
})
console.log(subscriber.webusername)
await postMinimal({
    resource: 'subscribers',
    body: {
        webusername: 'alice',
        ...
    }
})
Update an existing item
This method helps to update an entire item at once.
const subscriber = await put({
    resource: 'subscribers',
    resourceId: 21,
    body: {
        webusername: 'bob',
        ...
    }
})
console.log(subscriber.webusername)
await putMinimal({
    resource: 'subscribers',
    resourceId: 21,
    body: {
        webusername: 'bob',
        ...
    }
})
Update a specific field on an existing item
This is the preferred method to update single fields on an item.
await patchReplace({
    resource: 'subscribers',
    resourceId: 21,
    fieldPath: 'webusername',
    value: 'carol'
})
const subscriber = await patchReplaceFull({
    resource: 'subscribers',
    resourceId: 21,
    fieldPath: 'webusername',
    value: 'dave'
})
console.log(subscriber.webusername)